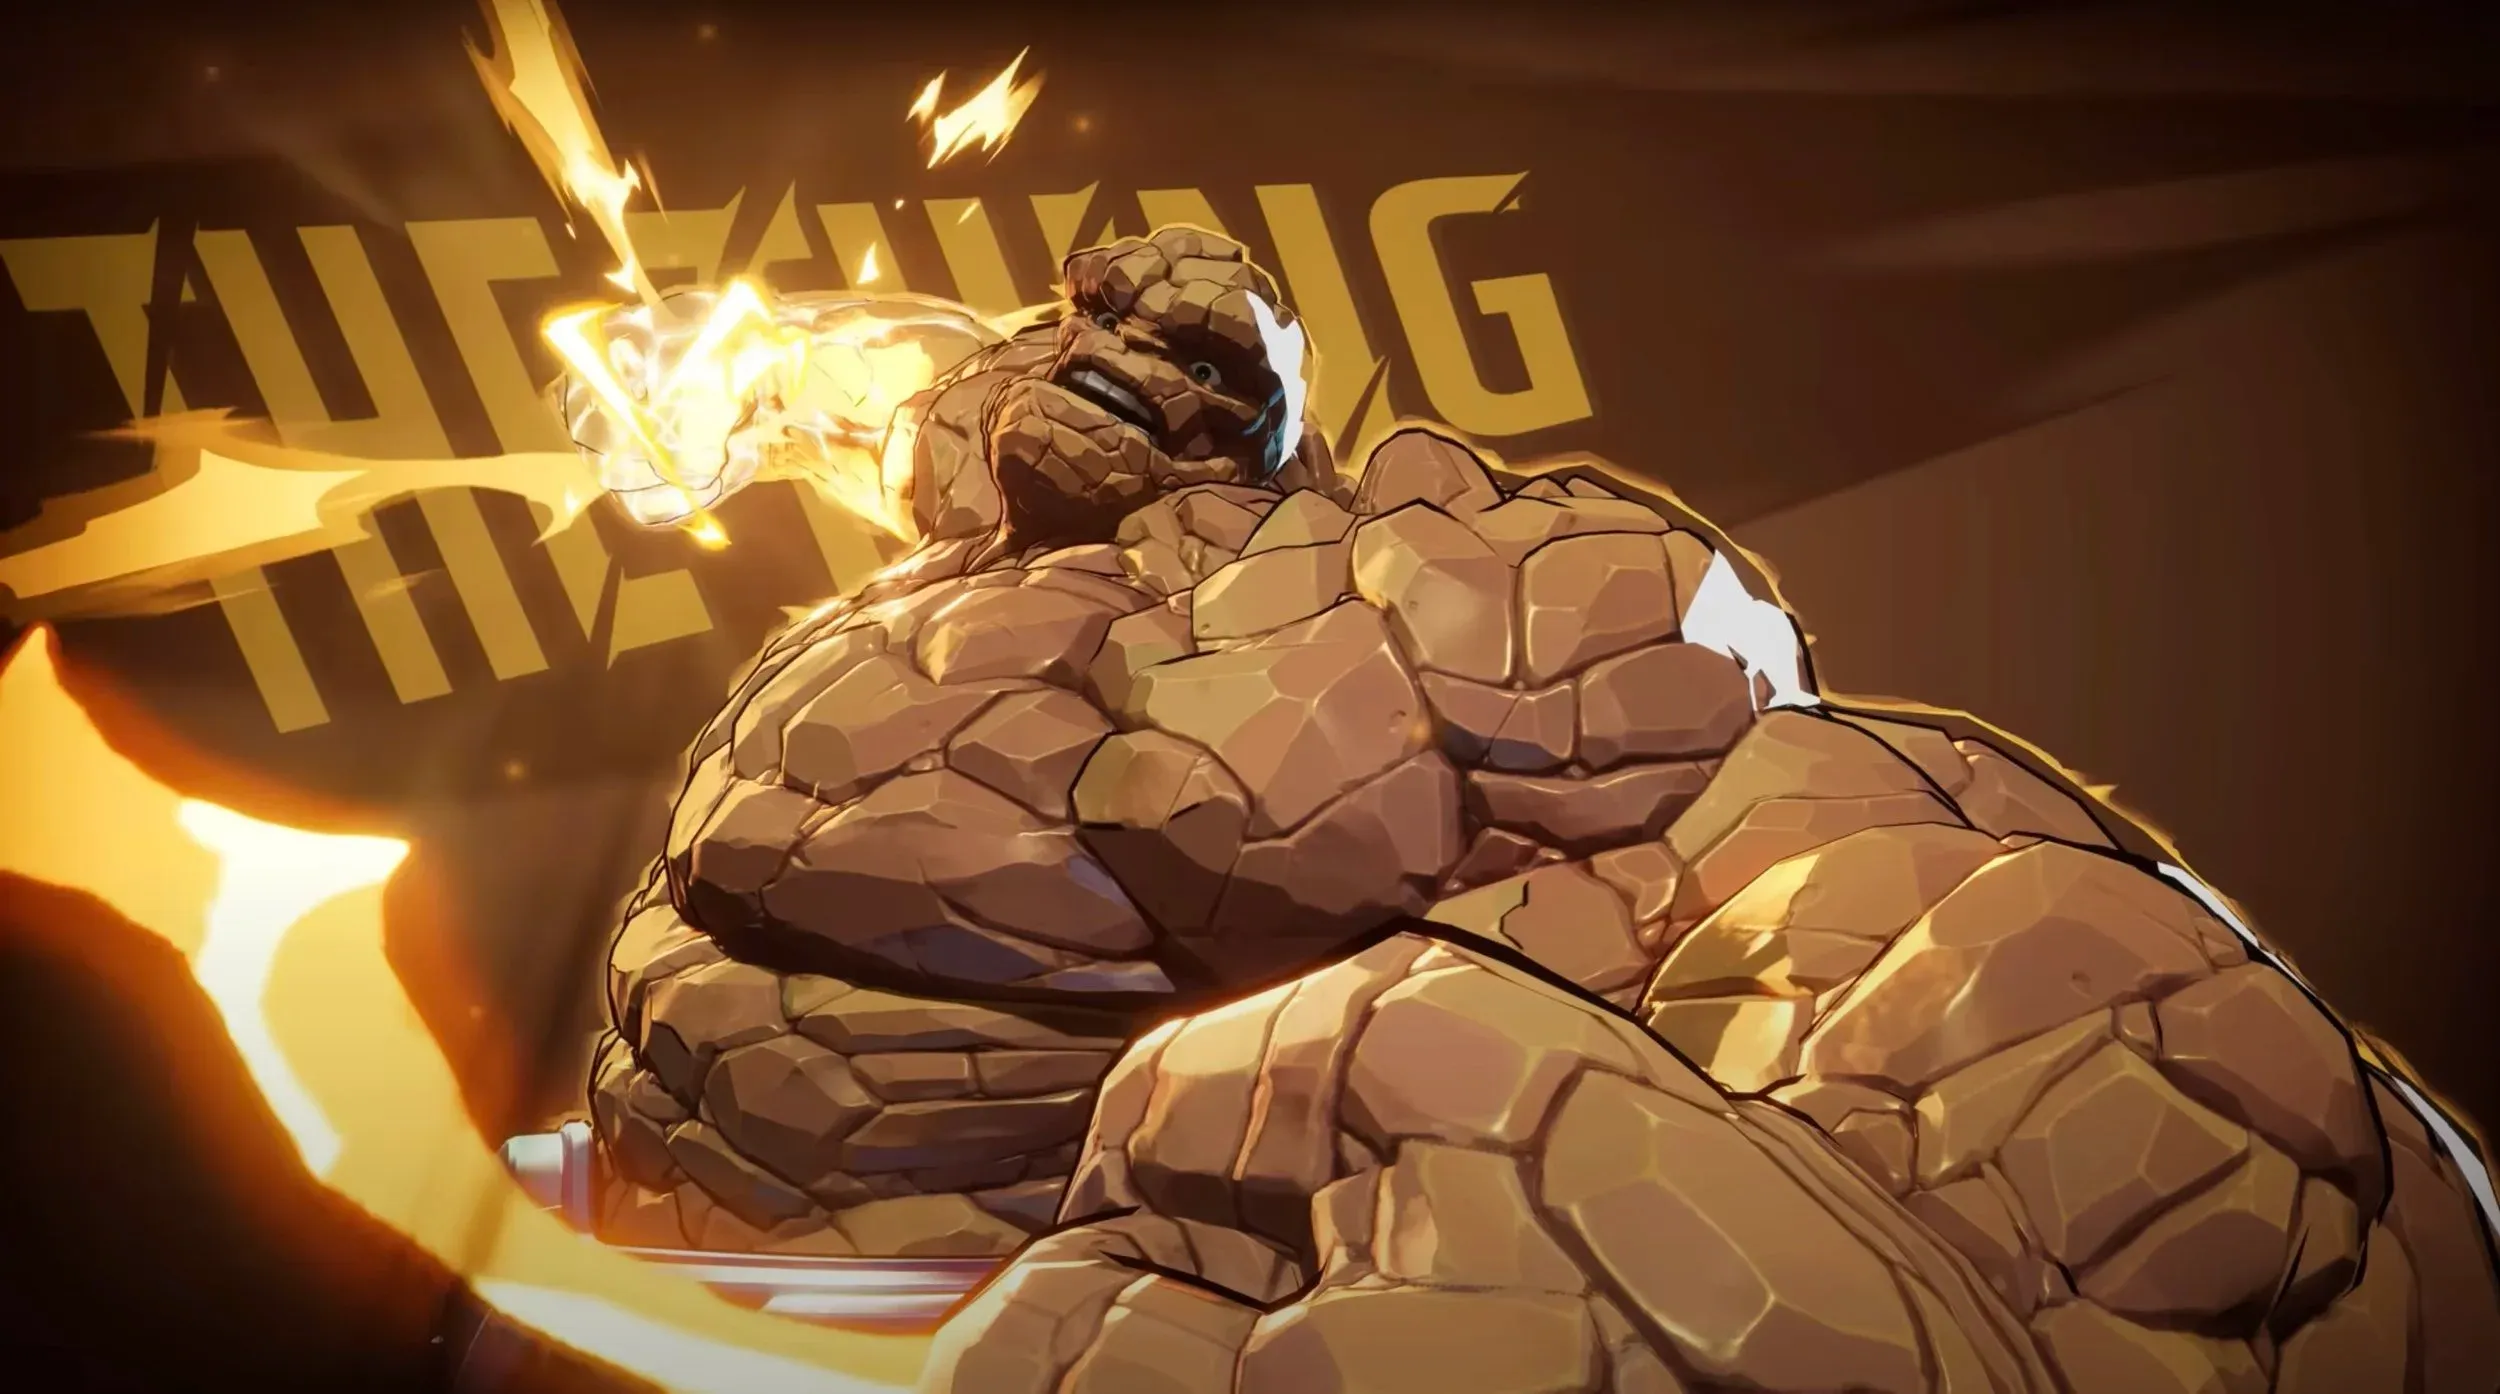
How to Counter Ultron in Marvel Rivals With Smart Picks and Teamplay
A lot of Marvel Rivals matches feel lost the moment The Thing starts walking at your team and nobody agrees on who should stop him. Understanding How to Counter The Thing in Marvel Rivals comes down to one core idea: you do not beat his brawl by matching it, you beat it through counterplay that denies his preferred fight shape. This guide explains the exact spacing, cooldown timing, role jobs, and hero functions that turn him from a raid boss into a punishable frontline.
Why The Thing Feels Unstoppable (And What Actually Beats Him)
The Thing wins when he forces short-range fights, absorbs attention, and turns his body into space control for the rest of his team. His pressure is less about mechanical outplay and more about forcing bad geometry, because a stacked enemy team in a narrow lane gives him value before he even lands damage.
That is why burst damage, crowd control, and disengage matter more than raw toughness in this matchup. A coordinated team does not need to out-brawl The Thing; it needs to deny his entry path, survive first contact, and punish the moment his engage stops carrying momentum.
In practical terms, your expectation should be control, not domination. The strongest anti-Thing teams in Marvel Rivals win by stretching fights across angles, preserving peel tools, and collapsing only after he commits deeper than his support line can save.
The Three Levers That Counter The Thing
Spacing is the first lever, and it is the most reliable one because it works before abilities are traded. If your team fights from an off-angle, uses verticality, and avoids standing shoulder to shoulder, The Thing cannot pin multiple targets or convert one engage into a full team collapse.
Control is the second lever because his value spikes when he reaches your backline cleanly. Heroes with peel and disruption, including Mantis, matter here not because they erase him alone, but because they interrupt the exact second where his pressure becomes lethal.
Burst focus is the third lever, and it matters once his defensive timing is spent. The Thing has a large, forgiving hitbox, so coordinated damage after his commit produces far more value than random poke before he enters.
Know The Thing’s Threats: What You Must Play Around
Most teams do not lose to The Thing because his numbers are unfair; they lose because they let him choose the range and line of sight of the fight. If he reaches your Strategist or forces your group into melee around an objective, he turns simple target access into a winning front-to-back collapse.
You should watch for engage tells early rather than reacting after contact. The strongest players track his pathing, body angle, and ultimate wind-up so they can split or peel before impact, which matters more than perfect aim once the brawl has already started.
The trap is chasing him into corners, walls, and cramped side routes where his close-range pressure peaks. Even aggressive melee picks such as Wolverine become worse if they follow him into spaces where his team can stack behind him and remove your exit path.
Yancy Street Charge: How It Creates Free Kills
Yancy Street Charge should be treated as a lane check: if you stand in a straight corridor, you are offering him a clean engage line. The ability becomes dangerous not only because of contact, but because it forces panic movement that usually pulls your team backward in the same direction.
The answer is pre-positioning, not late dodging. Hold diagonal angles, keep one escape route that cuts sideways instead of straight back, and make his Yancy Street Charge travel through crossfire rather than directly into your entire formation.
Ultimate Pressure: How to Survive the Swing Turn
His ultimate ability changes the tempo of the fight because it punishes teams that already spent every defensive resource on the first engage. Saving one barrier, burst heal, invulnerability tool, or hard CC specifically for that timing often decides the whole exchange.
If you cannot stop the ultimate ability, split immediately and reduce multi-target value. A separated team forces The Thing to choose one target instead of converting one swing turn into a full wipe.
Step-by-Step Game Plan to Counter The Thing
A clean anti-Thing plan starts before the fight with one shared target rule: everyone needs to know whether the team is peeling him, burning him, or ignoring him for a faster backline pick. Teams that improvise five separate duels usually lose because The Thing thrives when attention is fragmented.
Your default map plan should force mid-range fights and avoid every choke point where his path is obvious and your retreat path is linear. Once he commits, the fight becomes simple: peel the first target, collapse with burst, and punish before he can reset behind his own frontline.
Step 1: Win Before the Fight Starts (Positioning Rules)
Do not stack on doors, payload corners, or objective edges. Keeping two to three body widths between players cuts his multi-target pressure and makes follow-up from his team much less efficient.
Hold crossfire whenever possible. One player should bait the engage from a safe angle while a second angle punishes the entry, because crossfire turns his forward movement into exposure instead of space gained.
Step 2: Force Cooldowns, Then Re-Engage
Use poke and threat to make him step forward before you fully commit. Back up on the first sign of his engage rather than after the hit lands, because early disengage preserves health bars and keeps your team structure intact.
Re-engage only after his mobility or engage tool is down. Fighting while those tools are still available means you are still playing on his terms, and that is exactly where The Thing converts pressure into picks.
Step 3: Focus Fire Protocol (Simple Team Callouts)
The cleanest callout is short and immediate: “Thing in, burn now.” That call works because it marks the exact moment his hitbox is closest, his retreat path is longest, and your whole team can convert damage without guessing.
Assign one player to peel the backline while everyone else commits damage. This division matters because a peeled Strategist keeps the team alive, while four players shooting his large hitbox can erase the engage before it snowballs.
Role-Based Counters: What to Do on Duelist, Vanguard, and Strategist
The best counter system is role-based because every composition can apply it, even without a perfect hero draft. In Marvel Rivals, function beats hero name in this matchup, so CC, mobility, peel, and burst are usually more important than searching for one supposed hard counter.
Your decision rule is simple. Kite when he has engage available, peel when he reaches a vulnerable teammate, and hard commit only after his entry path is closed and your team can focus together.
As a Duelist: Kite, Burst, and Finish
As a Duelist, your job is to live outside his melee range and punish his entry window. Mobility should reset your angle and preserve damage uptime, because chasing him into his brawl zone usually flips your advantage into his.
As a Vanguard: Deny Space and Protect Angles
As a Vanguard, you are the traffic controller of the fight. Holding key lanes and body-blocking access to your backline matters more than trying to win a pride duel, because The Thing becomes weaker when his engage lands on the wrong target.
As a Strategist: Peel Timing and Anti-Dive Discipline
As a Strategist, save one peel tool for his dive instead of spending everything on harmless poke. Staggering heals and utility through first impact gives your team time to stabilize, and a stabilized team is exactly what The Thing hates facing.
Best Hero Matchups and Why They Work (Without Overpromising)
No hero automatically deletes The Thing, and that point matters because many matchup lists ignore map geometry and team coordination. Peni Parker, Moon Knight, Iron Man, Hela, Mantis, Wolverine, and Groot all offer useful answers, but each works because of function rather than because the matchup is free.
A wide map with multiple off-angles increases the value of ranged pressure and zoning, while a cramped map raises the value of peel and lane denial. That means the same hero can feel excellent in one lobby and average in another if the team refuses to play around the matchup correctly.
High-Value Counters for Stopping His Engage
Peni Parker is strong because area denial punishes straight-line commits and makes his entry predictable. That control creates decision tax for The Thing, which is critical because predictable tanks are easier to peel and burst.
Mantis offers some of the cleanest fight stabilization in the matchup. Reliable peel and utility do not erase his threat, but they often break the exact dive sequence he needs to secure a fast kill.
High-Value Counters for Melting His Hitbox
Iron Man works because ranged pressure and angle control punish slow approaches before he reaches melee. A hero that can damage from safer positions forces The Thing to spend resources just to begin the real fight.
Hela is valuable for similar reasons, but with stronger direct punishment when he overextends. High damage into a large hitbox turns every failed engage into a resource loss, and repeated failed engages make The Thing far less oppressive over a full round.
Brawl-Resistant Picks (When You Must Fight Close)
Groot helps by controlling lanes and limiting pathing options. When his routes are narrowed by enemy zoning instead of your own panic movement, The Thing loses the freedom that makes his engages so hard to read.
Wolverine can work in extended close fights if your team survives the first impact and isolates the skirmish. He is not a universal answer, but he becomes effective when the fight stops being a front-to-back pileup and turns into separated duels.
Micro Tips: Cooldown Tracking, CC Chains, and Target Priority
A simple cooldown habit will improve this matchup immediately: the moment he uses his engage, count a short no-engage window and play forward. That mental timer gives your team permission to take space safely, which is often the difference between passive fear and controlled pressure.
CC layering matters just as much as hero selection. If two players dump stuns at once, The Thing recovers faster than your team expects; if you chain slows, roots, and hard CC in sequence, you extend the burn window and increase time-to-kill.
How to Use CC Without Wasting It
Start with a slow or root to force defensive movement, then hold the stun for the real commit. That order matters because early hard CC often gets traded into low-value poke, while delayed control catches him when retreat is hardest.
Keep one interrupt or peel tool for the backline. Spending every answer on frontline pressure feels proactive, but it usually leaves your Strategist exposed to the exact follow-up that wins him the fight.
When Not to Focus The Thing
If his backline is free-casting and you can secure a fast elimination, take that pick first and then collapse on him. A tank without support becomes manageable very quickly, and target priority should reflect the whole fight, not just the biggest model on screen.
If he is zoning without committing, reposition instead of forcing low-value damage. Shooting a healthy The Thing at bad angles often only burns your own cooldowns and gives his team time to set up.
Common Mistakes That Make The Thing Stronger
The most common mistake is fighting him in corridors, corners, and objective pockets where his close-range presence covers too much space. Tight geometry removes your team’s ability to spread, and once spacing disappears, his kit becomes far easier to execute.
The second mistake is trickling into him one by one. The Thing punishes isolated entries better than many frontliners because every staggered duel gives him another chance to force melee on favorable terms.
The Two Biggest Throw Patterns
Stacking on objectives is the first major throw pattern. It gives him multi-target pressure, cleaner follow-up for his team, and fewer decisions to make, which means your bad positioning is doing part of his job for him.
Late focus calls are the second. If your team starts shooting him only after he has displaced or isolated someone, the punish window is already shrinking and the fight is already tilted.
Quick Example Scenarios (What to Do in Real Fights)
Real matches usually repeat the same structure even when the map changes. The winning pattern stays consistent: space first, bait the engage second, chain control third, and burn him while his retreat path is longest.
That repeatable sequence matters because anti-tank play is easier when the team uses one script. Clear scripts reduce panic, and panic is usually what turns a manageable engage into a lost objective.
Scenario 1: He Charges Through a Choke
Pre-split before contact. One player holds an off-angle, one stays ready to peel, and the rest avoid standing in a single retreat lane.
The moment he enters, chain CC and burst him. Do not backpedal in a straight line, because straight retreats give his engage maximum value and collapse your line of sight onto the same path.
Scenario 2: He Dives Your Strategist
Peel first instead of counter-diving their backline. One Duelist marks him immediately while the Vanguard blocks follow-up, because stabilizing the first target prevents the fight from becoming a rescue scramble.
Once the Strategist survives the impact, collapse together and finish the punish. A five-player response after stabilization is much stronger than three separate attempts to save the same teammate.
Key Takeaways: The Simple Checklist to Beat The Thing
The matchup is simpler than it feels if you reduce it to fight shape. Do not give The Thing the close-range, stacked brawl he wants; play angles, preserve distance, and force him to enter through exposed lanes.
Save peel and CC for the commit, then chain control and burn his hitbox before he can reset. Duelists should kite and burst, Vanguards should deny space, and Strategists should stabilize the first impact so the team can punish together.
One-Sentence Plan You Can Call in Voice
“Split angles, bait his charge, CC chain, and burn him the moment he’s in.”
“If he doesn’t commit, rotate and reset instead of brawling in his zone.” That sentence is already complete.